Showing posts with label cards. Show all posts

Monday, December 30, 2013

Card Making!

Let me just start by saying that I love hardware stores or home improvement stores for the free treasures...
I have used many a paint chip or color swatch for many a project! 

Generally when I walk past a paint display I grab a few new color samples. Who says I'm not constantly painting walls?! Super simple card making. I love a clean looking card, with a bit of fun detail or color. ENJOY

I attached the paint chip to the front of a trimmed card using double stick tape squares. My favorite part of this card would be the paint colors and how PERFECTLY they match the theme! Green giggle, bright foliage, bold bark, and retro green, all for my Secret Santa Christmas card. 
I added the cedar bough stamp using a chocolate colored ink! SEE?!?! Too PerFecT!
Using an edge cutter, I trimmed up the front edge with scallops. Then cut a card sized piece of this FuN gold and white patterned scrap book paper.  I figured it was Just Right for a WEDDING card. Oh my! I attached the piece with more double stick tape squares! 
Look at that! Using extra paper, I cut out a rose from the gold and added it to the top right corner of the card.  Silly ME! I failed to take a FINAL product PiC! Whoops! Maybe Tori or Joe can attach a photo in comments! CONGRATS!


Wednesday, October 16, 2013

Birthday Buttons!

In the event you were unaware, I LOVE giving presents.  And as weird as it is, I LOVE wrapping presents even more! I'm probably sick and disturbed... :) Anyway! Making cards and wrapping presents, then giving them away is something that brings me joy, so prepare yourself for a birthday and button themed mini post!

I decided that I wanted to make a fun card without stamping it, so I opted for buttons! I laid them out and then rearranged them over and over in order to get a layout and variety! When it came to color choice I picked buttons that would match the wrapping paper I was planning on using.  
Creating the card was so simple, just gluing the buttons into place, and letting them dry.  Once they were secured I used a black pen to draw my strings and bow.  


As I said before, I wanted the buttons to match the wrapping. If you knew who the gift was going to, you'd realize that plaid wrapping paper is only the most appropriate choice! Plus I just personally think plaid is neat! I considered using black grosgrain ribbon, but of course, couldn't find any at the time... Isn't that just how life is?! In its place I opted for a couple wraps of baker's twine in red and white to match the color scheme. Add one envelope and this present was wrapped for success! And it was very successful indeed!


Sunday, December 2, 2012

Give Thanks!

This November my family hosted some of our extended family for Thanksgiving. It was especially wonderful this year because my brother and his girlfriend were able to be with us for the week from Minneapolis.  I was put in charge of decorating the dining room for the event.  I chose to cut brown shipping paper into 8.5 by 11 inch sections so I could run it through the printer.  I selected two different fonts with two different sayings.   The fonts were downloaded from the Internet, Kunstler Script and Mailart Rubberstamp.  I then cut them into strips by hand, not being bright enough to use my paper cutter. It went pretty quickly though, and they didn't need to be perfect.  


I then simply created loops and opted to tape the edges together for time and efficiency purposes.  The chain became the table runner instead of a traditional cloth one. 


I also created my own place cards out of colored card stock and more brown mail wrap paper.  I created a stencil of a maple leaf from my school's Ellison punches then took the stencil home to trace and cut out.  My wonderful father helped in the process by being the tracer and scissor man.  I greatly appreciated his help! I then glued the leaf centers, but not the edges, to the card stock.  Each leaf went on slightly differently allowing each place card to be unique.  I added the names using dark brown ink and small alphabet stamps in haphazard patterns.  


The final piece of decorating utilized our old upright piano and a handful of brown paper lunch bags.  I had read a blog about how to print on paper bags and decided to give it a try.  It was quite simple and worked perfectly.  I used the same Rubberstamp font from the paper chain so they were connected, and printed one letter per bag.  I spelled out the word THANKFUL.


I then cuffed each bag by rolling the top down twice which made it easier to light the votives that were inside.  


Each votive lived in a glass holder so they were fire safe and used a clicking lighter with the long bendable nozzle to light them safely.  We ate earlier in the day before it was dark out, but after the sunset, the effect was beautiful.  


This year was so full of blessings and I had so many things to be thankful for, especially the wonderful time with my family and getting to see my brother. I hope your Thanksgiving was full of blessings too.  


Sunday, May 27, 2012

Happy Housewarming!

This weekend I finally put together a housewarming gift for my wonderful friend Ali! I picked up all sorts of treasures from some of my favorite home decor shopping locations.  I created a gift basket using a creamy, yellow locker basket from Vintage Hardware. I then proceeded to fill it with all sorts of neat finds.  My items, besides the creamy basket, were all in various shades of green, not because I planned it originally, but because once I started with green, I just couldn't stop. The main item inside the basket was a West Elm stripe favorite throw in beansprout and ivory.
West Elm is my new favorite home decor company! 
I then added a stack of three minty crackle painted flower pots from Dollar Tree. They are so adorable, I'm contemplating returning to buy some of my own!
They came in a few colors, so you have options!
I then added a three pack of flour cloth dish towels because they are my favorite for all things kitchen, plus they clean up nicely with a bit of bleach.  I also added the latest issue of one of my favorite magazines, Country Living! Always chalk full of great decorating ideas, products, and food. 
I especially loved the June edition this year!
While hunting around our local Goodwill, I came across two brand new, Pyrex liquid measuring cups.  They were identical and each hold two cups.  Of course I snagged both of them, one for Ali and one for me! What a great find!  I also added a fun, flowery frame that I found last year on a 60% Fred Meyer clearance table.  It has been sitting in my gifting pile waiting to find the perfect person that it should be given to.  I instantly thought of my developing green gift theme and new it would be a great addition in Ali's basket! Thank goodness I know that Ali LOVES Goodwill and good deals as much as I do, so she would not be offended that she is getting gifts that were steals! :)
Discount Pyrex and picture frames.
The last piece to the gift puzzle was actually three pieces.  I picked up three fresh herb plants from our Fred Meyer, taking advantage of the Memorial Day weekend Garden Center sale! I picked up onion chives, cilantro, and lemon verbena.  I then cut squares of craft wrap that covered the unattractive black, plastic store pots.  I folded the edges over the corners of the pots so they look slightly pleated, then used natural colored raffia to secure the paper in place with bows!
These would make absolutely terrific place markers or favors for a summer party!
Any good gift has to have a good card to accompany it, so my next task was to create a simple, green themed card!  I started with a crafting and card making staple, a paint chip! Acquiring new paint chips is literally the only reason I go to Home Depot.  They have the multiple color chips still, when most companies are stocking individual color chips only.

Happened to have the perfect green chip!
In order to make the chip less industrial and harsh looking, I used my Martha Stewart lace paper punch that I picked up a few months ago at JoAnn's.  
I only punched one end, only because I liked the look.
I then used a stamp that I have been dying to use, because it is just so cheery and cute! The uses for the stamp though are limited, so it was great having a purpose for it! I used a chocolate brown ink and placed it on a white pricing tag from my scrapbooking box. I attached the tag using a glue dot on one end and a green (go figure) brad through the hole at the other end.  
Picked up at Michael's for $1.00!
So simple, but so happy!
I finished the card up with a simple To and Heart in a matching chocolate brown marker. The card only took about five minutes to construct, but it matched the green themed basket perfectly!
:)
The finished product turned out so wonderfully, it may be one of my most favorite gifts I have ever given! Thanks Ali, for letting me blog all about your neat present! And may your new home bring you many wonderful memories and blessings! Love you!
The final basket!


Sunday, February 12, 2012

Give a Little Love!

Valentine's Day is rapidly approaching! I've been busy creating my Valentine's gifts this past week, and was able to get two projects out of one set of materials! BONUS! 

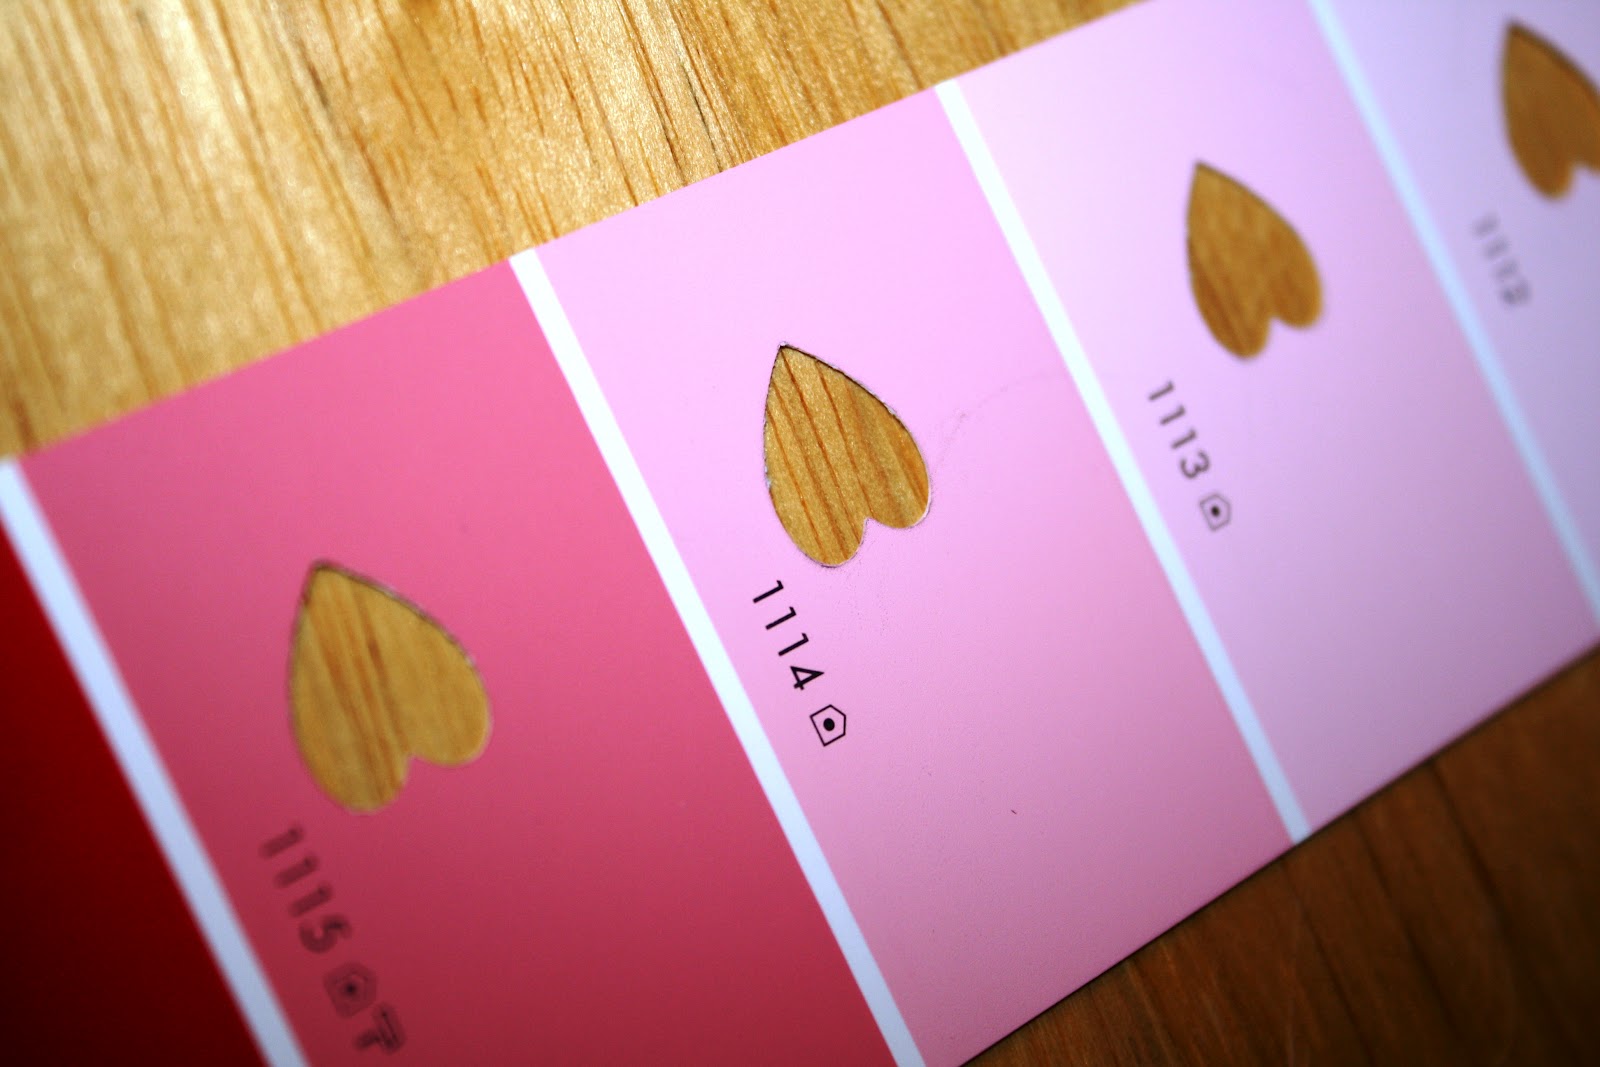
I found an adorable set of bookmarks on Pinterest that I decided would be absolutely perfect for my students.  The premise was simple and quick. I needed multicolor paint chips, a heart-shaped hole punch, a regular round punch, and ribbon! All things that I have or can acquire at a cheap price. The paint chips (like the snowman) were free from the Fred Meyer paint department. I picked up a roll of pink ribbon from our brand new Joann's, 10 yards for $0.50.  I already owned the necessary hole punches, so I had a low cost project on my hands; the best kind!
Hearts punched from the edge of the paint chips.
After punching the hearts along each color block, I punched a single round hole in the lightest color block.  I then cut lengths of pink ribbon, about 8 inches each, to tie off the top of the bookmark. I simply folded the ribbon in half and put the cut edges through the hole, then laced them through the loop at the other end and pulled tight.  I think they turned out quite well if I do say so myself! :)
The finished product!
I was able to use the punched out hearts for my next project! I created a heart shared mosaic card for my boyfriend.  I set up the design on the table then glued them into place one by one.  I used a white blank card as the base and Elmer's clear craft bond glue.
Punch scraps turned art!

Process, one heart at a time.
To finish the card, I used a red ink pen and jotted a small scripted note.  iloveyou.

Finished card, maybe I should start production... :)


Saturday, July 2, 2011

Thank you very much!

I am a little slow on getting these up, but I created pennant style thank you cards for my students who gave me gifts at the end of the year.  I choose cards in bright colors (from a precut mat stack book) and then selected both pattered and solid paper for the pennant flags that complimented the card colors.  I then free handed small triangles from the paper.  I used the first one as a guide for the rest so they were somewhat similar.  The first card I created was the green one, featuring the brown trim, but I was not thrilled with the result so I opted to string the flags on an invisible line! Once each card was glued together, I labeled the flags with brown Sharpie, mixing up the fonts for each card.  I let the cards dry under a press so as to keep the pennants from curling on the edges and voila! A cute and simple card! These would make adorable birthday cards, baby announcements or shower gifts, party invites, you name it!

Notice the different fonts.


Finished pieces.


All together, notice the brown trim on the green card. Decided it was too bulky and didn't sit right. Perhaps some thick thread would be more appropriate in the future. Or a hand drawn line. Next time...