Showing posts with label scrapbook. Show all posts

Monday, December 30, 2013

Card Making!

Let me just start by saying that I love hardware stores or home improvement stores for the free treasures...
I have used many a paint chip or color swatch for many a project! 

Generally when I walk past a paint display I grab a few new color samples. Who says I'm not constantly painting walls?! Super simple card making. I love a clean looking card, with a bit of fun detail or color. ENJOY

I attached the paint chip to the front of a trimmed card using double stick tape squares. My favorite part of this card would be the paint colors and how PERFECTLY they match the theme! Green giggle, bright foliage, bold bark, and retro green, all for my Secret Santa Christmas card. 
I added the cedar bough stamp using a chocolate colored ink! SEE?!?! Too PerFecT!
Using an edge cutter, I trimmed up the front edge with scallops. Then cut a card sized piece of this FuN gold and white patterned scrap book paper.  I figured it was Just Right for a WEDDING card. Oh my! I attached the piece with more double stick tape squares! 
Look at that! Using extra paper, I cut out a rose from the gold and added it to the top right corner of the card.  Silly ME! I failed to take a FINAL product PiC! Whoops! Maybe Tori or Joe can attach a photo in comments! CONGRATS!


Monday, September 23, 2013

Socializing with Pie!

Oh goodness... what was I thinking?!?! Somehow I got it in my brain in July that I would have the energy and patience to plan a pie social fundraiser for the month of September at church! Because teaching 4th and 5th graders during the week, middle schoolers on Sundays, being the church secretary, and union president wasn't enough to fill my plate! Haha! Good thing I like crafting, organizing, and eating pie! 

I enlisted the wonderful Lutheran folks' help to take care of the pie baking portion of the activity.  30 pies were on the sign up sheet and I'm pretty sure there were at least 35-40 pies that actually arrived at the social! So of course the 30 pie labels I made were insufficient! But that's a good problem to have! The labels were so fun to make, and I realized they would be really cute as place cards for a party! 


I started these tags by simply cutting blank cards in half.


Each card received a color block base, and then my new favorite crafting find! The Martha Stewart Home Office Avery Labels! 


Each piece was just placed in the middle of the next. And then I attached a button or two for pizazz, and because I just really like using buttons! 


As if making all the little tags wasn't enough prep and decor, I decided to make a banner too! I used cardboard letters as stencils for my EAT MORE PIE pennants.  Each pennant was a 12" by 6"  rectangle  that I put a one inch fold on at the top to use as a hanger.  


I, of course, continued the button theme! 


And used clothespins to secure the pennants to the tulle.


A little swag detail! And a couple bows on each end! Ta-da! 


To make a long post even longer, I incorporated a silent pie auction to the event.  Each pie received a label and a bid sheet on the auction table. Some pies sat on cake stands, baskets, and tiers to add some dimension to the table and gave me more room to fit more pies!   


I have to give a huge shout out of thanks to my parents, Aunt Kathy, and Craig for all of the help setting up and taking down. And a huge thanks to the pie makers, ice cream donators, and those that helped by washing dishes, moving tables, and cleaning the kitchen! There is no way that the pie social and auction would have been so successful without all of the helping hands! And a thanks to Craig for sharing his journey to China and Mongolia with us as the program portion of the event! 

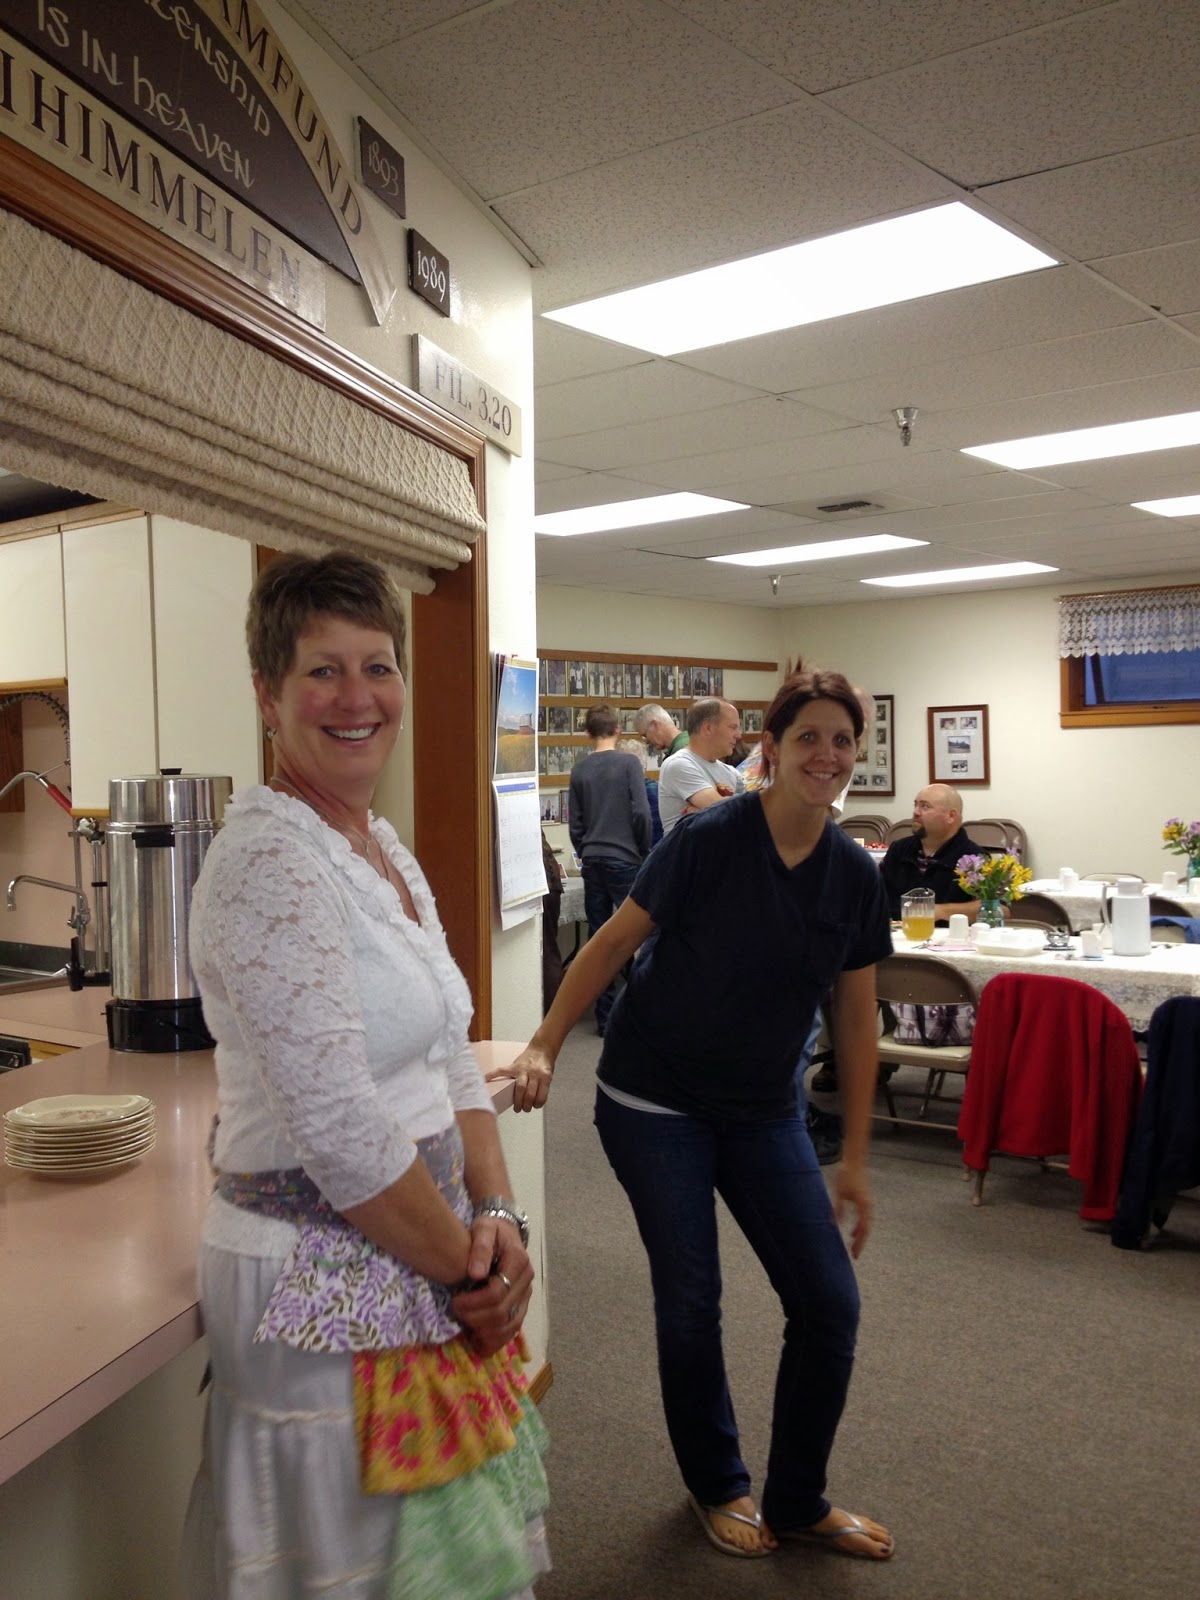
I leave you with a couple pictures of some happy pie eaters! :) 


Monday, March 4, 2013

Pack a Little Picnic (Part One)

Welcome to a blogging mini series! This one will only be a couple posts long, featuring a picnic that the certified teachers hosted for our school's phenomenal classified staff members! These people are literally the heart and soul of a school, bus drivers, secretaries, custodial staff, kitchen staff, classroom assistants, recess aids, librarians, all the people that keep a school running in tip-top shape! Teachers would, in all honesty, be significantly crazier than we already are if these people were not part of a school. Classified Appreciation Week is March 4-8 this year and the teachers pulled together to host a beautiful lunch! 

A hosted luncheon is not complete without a theme inspired invitation! Being a craft nut, if you haven't figured that out already..., I volunteered to create the invitations! I started with rolled craft paper, and used a paper cutter to trim them into 4" by 5.5" rectangles.


I then used a lace edge punch, shown below, from Martha Stewart's craft line, to frame all of the edges of the craft wrap. 


I then glued the craft paper to my picnic table cloth scrapbook paper! Those were cute into 6" squares.


The final piece of the puzzle was the information for the party, of course! Using my new obsession for downloading adorable fonts, I created a fun and spunky information postcard.  The "In celebrations of YOU" is in Office's standard Rockwell.  The large "PICNIC" is Coffee Tin.
The remaining information is Strawberry Limeade. These fonts are both from free websites, so go get them!


After attaching the pieces, used a teacher's go to, glue sticks, then final product was cute and simple! But they got rave reviews! Thanks for those compliments, I'm glad you enjoyed the invites! 


Sunday, May 27, 2012

Happy Housewarming!

This weekend I finally put together a housewarming gift for my wonderful friend Ali! I picked up all sorts of treasures from some of my favorite home decor shopping locations.  I created a gift basket using a creamy, yellow locker basket from Vintage Hardware. I then proceeded to fill it with all sorts of neat finds.  My items, besides the creamy basket, were all in various shades of green, not because I planned it originally, but because once I started with green, I just couldn't stop. The main item inside the basket was a West Elm stripe favorite throw in beansprout and ivory.
West Elm is my new favorite home decor company! 
I then added a stack of three minty crackle painted flower pots from Dollar Tree. They are so adorable, I'm contemplating returning to buy some of my own!
They came in a few colors, so you have options!
I then added a three pack of flour cloth dish towels because they are my favorite for all things kitchen, plus they clean up nicely with a bit of bleach.  I also added the latest issue of one of my favorite magazines, Country Living! Always chalk full of great decorating ideas, products, and food. 
I especially loved the June edition this year!
While hunting around our local Goodwill, I came across two brand new, Pyrex liquid measuring cups.  They were identical and each hold two cups.  Of course I snagged both of them, one for Ali and one for me! What a great find!  I also added a fun, flowery frame that I found last year on a 60% Fred Meyer clearance table.  It has been sitting in my gifting pile waiting to find the perfect person that it should be given to.  I instantly thought of my developing green gift theme and new it would be a great addition in Ali's basket! Thank goodness I know that Ali LOVES Goodwill and good deals as much as I do, so she would not be offended that she is getting gifts that were steals! :)
Discount Pyrex and picture frames.
The last piece to the gift puzzle was actually three pieces.  I picked up three fresh herb plants from our Fred Meyer, taking advantage of the Memorial Day weekend Garden Center sale! I picked up onion chives, cilantro, and lemon verbena.  I then cut squares of craft wrap that covered the unattractive black, plastic store pots.  I folded the edges over the corners of the pots so they look slightly pleated, then used natural colored raffia to secure the paper in place with bows!
These would make absolutely terrific place markers or favors for a summer party!
Any good gift has to have a good card to accompany it, so my next task was to create a simple, green themed card!  I started with a crafting and card making staple, a paint chip! Acquiring new paint chips is literally the only reason I go to Home Depot.  They have the multiple color chips still, when most companies are stocking individual color chips only.

Happened to have the perfect green chip!
In order to make the chip less industrial and harsh looking, I used my Martha Stewart lace paper punch that I picked up a few months ago at JoAnn's.  
I only punched one end, only because I liked the look.
I then used a stamp that I have been dying to use, because it is just so cheery and cute! The uses for the stamp though are limited, so it was great having a purpose for it! I used a chocolate brown ink and placed it on a white pricing tag from my scrapbooking box. I attached the tag using a glue dot on one end and a green (go figure) brad through the hole at the other end.  
Picked up at Michael's for $1.00!
So simple, but so happy!
I finished the card up with a simple To and Heart in a matching chocolate brown marker. The card only took about five minutes to construct, but it matched the green themed basket perfectly!
:)
The finished product turned out so wonderfully, it may be one of my most favorite gifts I have ever given! Thanks Ali, for letting me blog all about your neat present! And may your new home bring you many wonderful memories and blessings! Love you!
The final basket!


Saturday, July 2, 2011

Thank you very much!

I am a little slow on getting these up, but I created pennant style thank you cards for my students who gave me gifts at the end of the year.  I choose cards in bright colors (from a precut mat stack book) and then selected both pattered and solid paper for the pennant flags that complimented the card colors.  I then free handed small triangles from the paper.  I used the first one as a guide for the rest so they were somewhat similar.  The first card I created was the green one, featuring the brown trim, but I was not thrilled with the result so I opted to string the flags on an invisible line! Once each card was glued together, I labeled the flags with brown Sharpie, mixing up the fonts for each card.  I let the cards dry under a press so as to keep the pennants from curling on the edges and voila! A cute and simple card! These would make adorable birthday cards, baby announcements or shower gifts, party invites, you name it!

Notice the different fonts.


Finished pieces.


All together, notice the brown trim on the green card. Decided it was too bulky and didn't sit right. Perhaps some thick thread would be more appropriate in the future. Or a hand drawn line. Next time...


Monday, March 14, 2011

Paint Chip Bookmarks

My Aunt Kathy made these adorable bookmarks from paint chips, patterned scrapbook paper in coordinating colors, small grommets, and twine. They were made for a conference held at our church, focused on prayer, hence the praying hands stamp. The chips are glued to the paper and then cut out so they match up in size.  Then punch a hole at the top, set grommet and tie off with twine. 


These quirky bookmarks are most notable for the names of each hue on the chip.  Use this project for baby or bridal showers, homemade Valentines, birthdays parties, package ties, and, of course, slide them into books given as gifts!