Showing posts with label presents. Show all posts

Monday, December 30, 2013

From Rags to Riches. Or Spindles to Candlesticks?

Just another DIY project with materials from one of the best LOCAL stores in town! VINTAGE HARDWARE, OF COURSE! Snagged these great spindles for a decent price! 

The project as a whole only cost me about $15! The sandpaper is already EVERYWHERE in the woodshop, and the paint was leftover from my bookcase painting endeavor at school this summer. 

Cut the top and bottom off each piece so they were smooth and flat, sanded each spindle until they were smooth! 
Had to ask for a bit of help from my handy tool man father. I was too afraid that I would absolutely destroy the spindles if I tried to drill the candle holder holes! I'm semi-skilled with power tools, but I know when to get help in order to maintain project perfection! Thanks PA!
Look at that beautiful cream colored paint! Lots of left over for the spindles. (And for the shutter! Stay tuned for that!) I used two coats of paint for each spindle for the best coverage. 
This one is technically upside down! Whoops! But the finished product looks pretty great. At least I think so!
These lovely spindles were a gift for my even lovelier sister-in-law! Their final resting place is in the Midwest. Rachel will have to send me a final product photo once they find an official home! 

ScRaBbLe CoAsTeRs!

Making Scrabble tile coasters was such an EASY project! Which maybe I shouldn't say, so I can keep giving these unique gifts to people! 

The materials are inexpensive for the most part, and not hard to come buy. 
Scrabble tiles (You can order complete sets from Hasbro!)
Super glue
Cork (I used thin rolled cork from a hardware store)
An Exacto knife or good pair of scissors
Inexpensive bristle or foam paintbrush
Modge Podge (I used the outdoor kind so it works for wet materials)

The first task is simply picking out your tiles, phrases, or words! I created a couple sizes of coaster, 4 by 4 and 5 by 5.
I ordered three full sets from Hasbro for about $12. 
After gluing the tiles carefully to the cork and letting them dry, I used a cheap paintbrush to apply the Modge Podge. Next time, I think I will try a foam brush because I had to work really hard to brush out the bristle lines. 
To be honest, I was so nervous when the Modge Podge was a bit white! But not to worry anymore, it dried perfectly clear! Phew! 
I made these for a few people! Each coaster shows a bit of each personality. I used the blanks as spaces or for letters that were missing, like the L in MALT! Oops!
These were such a BREEZE, and I've already had people tell me that I should make them for sale! Perhaps that will be a New Year's PROJECT! If I do start a side business, I'll let my ReAdErS know! 

Wednesday, October 16, 2013

Birthday Buttons!

In the event you were unaware, I LOVE giving presents.  And as weird as it is, I LOVE wrapping presents even more! I'm probably sick and disturbed... :) Anyway! Making cards and wrapping presents, then giving them away is something that brings me joy, so prepare yourself for a birthday and button themed mini post!

I decided that I wanted to make a fun card without stamping it, so I opted for buttons! I laid them out and then rearranged them over and over in order to get a layout and variety! When it came to color choice I picked buttons that would match the wrapping paper I was planning on using.  
Creating the card was so simple, just gluing the buttons into place, and letting them dry.  Once they were secured I used a black pen to draw my strings and bow.  


As I said before, I wanted the buttons to match the wrapping. If you knew who the gift was going to, you'd realize that plaid wrapping paper is only the most appropriate choice! Plus I just personally think plaid is neat! I considered using black grosgrain ribbon, but of course, couldn't find any at the time... Isn't that just how life is?! In its place I opted for a couple wraps of baker's twine in red and white to match the color scheme. Add one envelope and this present was wrapped for success! And it was very successful indeed!


Friday, February 15, 2013

L.O.V.E.

Oh my goodness! I LOVE the holiday of Love, Valentine's Day! Not that you shouldn't show, give, share love throughout the year, I just appreciate a day focused solely on love. What a great reason to give my students awesome Valentine's!

 It wouldn't be appropriate to create Valentine's projects without a plethora of pink and red supplies. Pink scissors? Check. Pink ribbon? Check. Red and white baker's twine? Check. Pink and red stamping ink (in a variety of shades)? Check. Pink and red pens? Check. Stamps and punches full of hearts? Check. I think I'm ready to start!


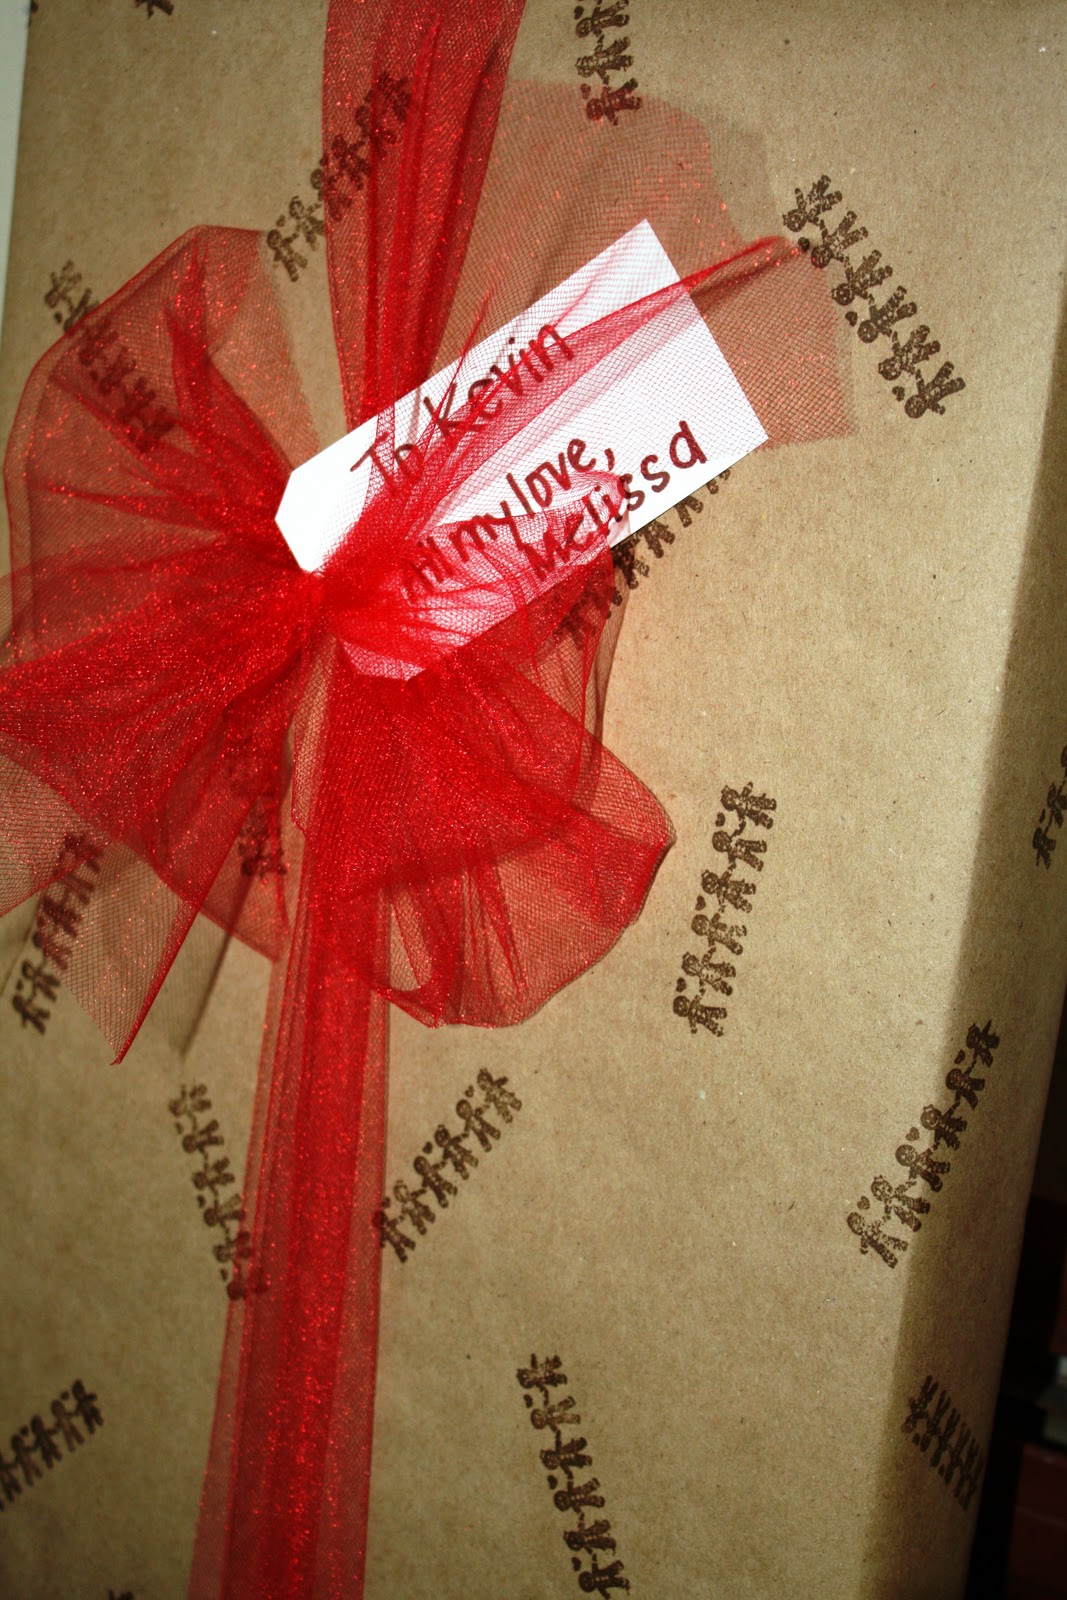
Using the stamp seen in the picture above, I used two ink colors in order to create more play on the tags. 


Twenty-five tags later!


As usual, I packed the gifts in brown, paper lunch sacks. What can I say, they are inexpensive. Cheap version of craft wrap, but in a more convenient, mass-gifting, sort of way. 
I used the same two ink colors from the tags to stamp the heart pairs on each bag.  One color at a time to increase speed by not having to keep rewashing the stamp. 


I also own the most perfect Valentine themed punch, the one that I purchased for the bookmark and card projects from last year! I picked it up at JoAnn Fabrics with a 50% off coupon and my 15% off teachers' discount card. 

So it only made sense that when I punch the hole for tying the bags shut, the hole should be heart shaped. 


 When I finished packing the bags with novels, pencils, and Tootsie Pops, I sealed them by folding the top down once. The heart shaped punch allowed me to thread baker's twine through the tags and bag and finish with a small bow.  


All lined up and ready for anxious little (I suppose not really that little) hands to open them and create big, beaming smiles. 

How can you not LOVE Valentine's Day? For me it is a great excuse to spoil my students (They actually outdid me in that category, my desk was out of control with wonderful treasures) and remind them in a tangible way of how much I care about them.
It's not a day to think about the love you don't have, or wish for. It's about giving and sharing love with ones who are in your life at that time. And perhaps people you loved have come and gone, which exactly why you have to embrace the day and love people while they are with you. Don't let a single day pass without telling, showing, sharing, love to someone.  Your love may make all the difference. ©

Saturday, December 22, 2012

'Tis the Season (Part Four)

Is it strange that one of my absolute favorite parts of the Christmas season is wrapping presents??? I love giving gifts to people, but they have to be wrapped just so. Go figure. Every year I coordinate all of my gifts and make them match. 

This year I found the cutest item at my favorite store, Vintage Hardware. For ten cents, I acquired an old printing press metal stamp featuring a reindeer and tree! Not meant to be a craft stamp, but it works!


I used chocolate brown or bright red ink to add the stamp to each name tag. The color of stamp determined the color of string that I used to tie up the gifts. Red stamp = red string, brown stamp = brown string. 


Of course I had to have a theme! In good holiday spirit, I chose "Brown paper packages tied up with string," a lyric from the song "Favorite Things" sung by Julie Andrews in The Sound of Music. Initially I planned on stamping the words in place, but after completing the first present, I realized that I just didn't have the time! Note to self: Find a stamp or order a custom one with the phrase as a whole. 
I chose to use a bright red pen to simply ink the phrase onto each package.  It is a good thing that I teach cursive, my practiced penmanship held up to the test!


The final product is a group of simple yet festive holiday packages for joyous gift giving!


Sunday, May 27, 2012

Happy Housewarming!

This weekend I finally put together a housewarming gift for my wonderful friend Ali! I picked up all sorts of treasures from some of my favorite home decor shopping locations.  I created a gift basket using a creamy, yellow locker basket from Vintage Hardware. I then proceeded to fill it with all sorts of neat finds.  My items, besides the creamy basket, were all in various shades of green, not because I planned it originally, but because once I started with green, I just couldn't stop. The main item inside the basket was a West Elm stripe favorite throw in beansprout and ivory.
West Elm is my new favorite home decor company! 
I then added a stack of three minty crackle painted flower pots from Dollar Tree. They are so adorable, I'm contemplating returning to buy some of my own!
They came in a few colors, so you have options!
I then added a three pack of flour cloth dish towels because they are my favorite for all things kitchen, plus they clean up nicely with a bit of bleach.  I also added the latest issue of one of my favorite magazines, Country Living! Always chalk full of great decorating ideas, products, and food. 
I especially loved the June edition this year!
While hunting around our local Goodwill, I came across two brand new, Pyrex liquid measuring cups.  They were identical and each hold two cups.  Of course I snagged both of them, one for Ali and one for me! What a great find!  I also added a fun, flowery frame that I found last year on a 60% Fred Meyer clearance table.  It has been sitting in my gifting pile waiting to find the perfect person that it should be given to.  I instantly thought of my developing green gift theme and new it would be a great addition in Ali's basket! Thank goodness I know that Ali LOVES Goodwill and good deals as much as I do, so she would not be offended that she is getting gifts that were steals! :)
Discount Pyrex and picture frames.
The last piece to the gift puzzle was actually three pieces.  I picked up three fresh herb plants from our Fred Meyer, taking advantage of the Memorial Day weekend Garden Center sale! I picked up onion chives, cilantro, and lemon verbena.  I then cut squares of craft wrap that covered the unattractive black, plastic store pots.  I folded the edges over the corners of the pots so they look slightly pleated, then used natural colored raffia to secure the paper in place with bows!
These would make absolutely terrific place markers or favors for a summer party!
Any good gift has to have a good card to accompany it, so my next task was to create a simple, green themed card!  I started with a crafting and card making staple, a paint chip! Acquiring new paint chips is literally the only reason I go to Home Depot.  They have the multiple color chips still, when most companies are stocking individual color chips only.

Happened to have the perfect green chip!
In order to make the chip less industrial and harsh looking, I used my Martha Stewart lace paper punch that I picked up a few months ago at JoAnn's.  
I only punched one end, only because I liked the look.
I then used a stamp that I have been dying to use, because it is just so cheery and cute! The uses for the stamp though are limited, so it was great having a purpose for it! I used a chocolate brown ink and placed it on a white pricing tag from my scrapbooking box. I attached the tag using a glue dot on one end and a green (go figure) brad through the hole at the other end.  
Picked up at Michael's for $1.00!
So simple, but so happy!
I finished the card up with a simple To and Heart in a matching chocolate brown marker. The card only took about five minutes to construct, but it matched the green themed basket perfectly!
:)
The finished product turned out so wonderfully, it may be one of my most favorite gifts I have ever given! Thanks Ali, for letting me blog all about your neat present! And may your new home bring you many wonderful memories and blessings! Love you!
The final basket!


Friday, November 25, 2011

Back to Blogging!

After an extremely long hiatus, AKA summer vacation and the start of the new school year, I have finally found time to blog again! Hooray! My mom and I spent the early morning hours doing some Christmas shopping and taking advantage of many of the Black Friday deals in our area, we then came home and proceeded our wrapping process.

Each year, I try to maintain some consistency through use of color or materials. This year our gifts will be wrapped in hand stamped craft paper and topped with tulle bows.  Tulle is one of my favorite things to do presents with because by tying the simplest bow, it adds a great amount of volume to the packages.  Tulle fluffs so nicely, and it doesn't require the time and scissor practice of curling ribbon.

Check out the process and some of the final products for our wrapping paper!

1. Cut brown craft wrap to necessary size and lay flat on hard surface.


2. Add stamps one color at a time in a pattern or arrangement of your choosing.
3. For a multi color piece like the one pictured, select next colors and continue to add to pattern.


4. Let ink dry momentarily, I try to purchase quick drying!
5. Wrap gift as you would normally.
6. Add tulle as ribbon, before I create the last bow I thread the package tag on and tie around that so it stays secure on the box.

This present has two layers of tulle, a royal blue paired with a glitter white.


Christmas treats, gingerbread and candy canes!


Little, lanky snowmen!


Rows of gingerbread friends.


Color coordination at its best! Red ornaments and green wreaths with opposing bows!


So simple, so fun, so unique, and so pretty!